If you’re looking for a way to stream IPTV on your PC we’ll show you how you can download the popular STB emulator pro app on Windows 10. This can then be configured to stream IPTV from any server of your choosing.
If you’re an experienced IPTV user then you’ve probably grown to like the STBemu app on Android. It’s a popular app with over 500,000+ installs for the free version and 10,000+ for pro version. It really has made streaming IPTV easy.
Sadly, if you go to the Windows Microsoft app store this emulator app is not readily available for download.
But before you call it quits, there’s still a way you can get IPTV on your PC (both Windows and MAC). It may not be the best or optimal way to stream IPTV on your computer — a M3U playlist will likely work better on PC than a MAC activated server — but we’ll teach you both ways and you can decide for yourself.
For this guide you’ll need two things:
- An active IPTV subscription.
- Download a program called Bluestacks.
(click here to download official bluestacks program).
Downloading BlueStacks on PC for STBemu
Bluestacks program is a powerful piece of software that allows users to play Android applications on Microsoft Windows and Apple’s MAC OS. It’s essentially an android emulator and currently has 370+ million app installations. The only issue here is it requires a computer with decent specs so if your stuff is a little outdated it may run slow.
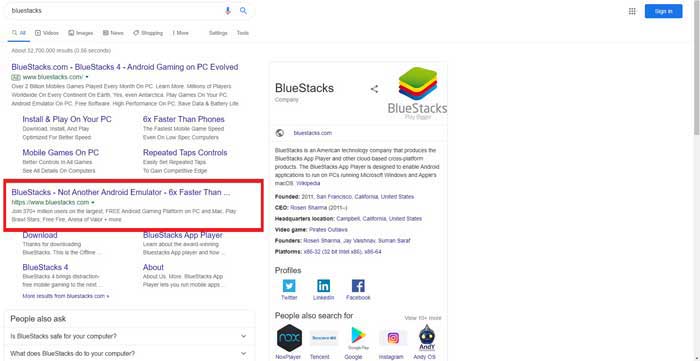
1. Go to the bluestacks official website and download the application.
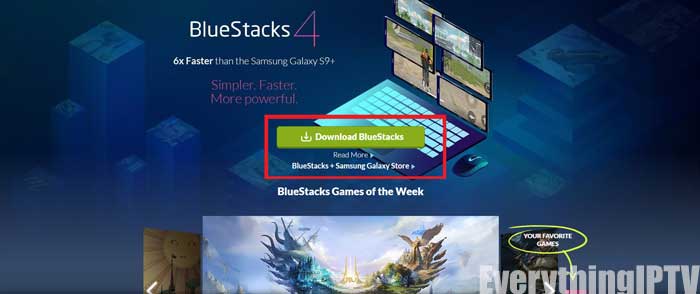
2. Click on Download Bluestacks.
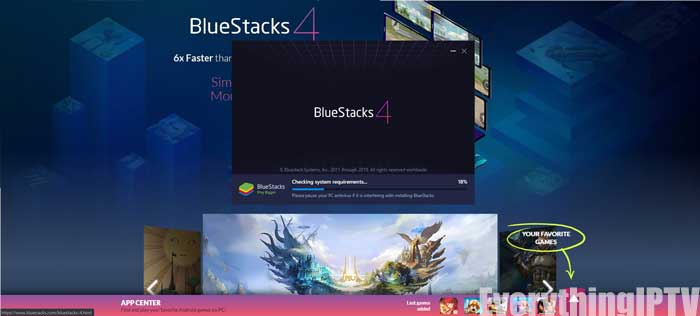
3. Once done downloading the bluestakcs setup file, allow the application access to install.
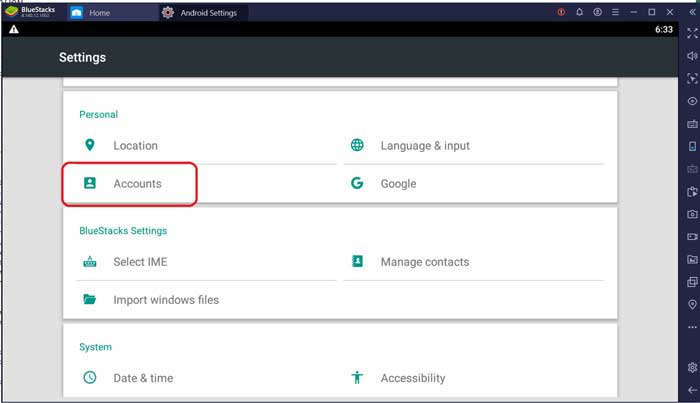
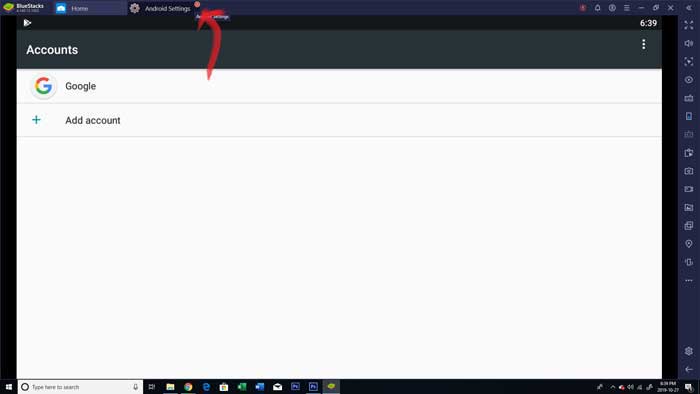
4. Once done installing, it should ask to set up google playstore account, set this up. If it doesn’t you can go in the settings as shown and do it there.
5. From here scroll down to the ‘accounts’ option.
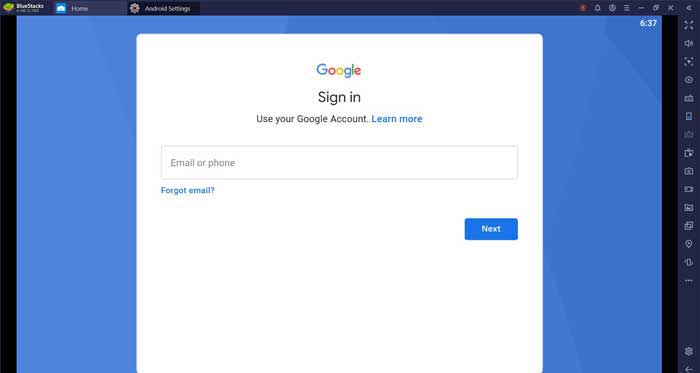
6. Here we can select ‘google’ which will allow us to sign into our g-mail account.
7. Go through the sign in process as usual. Once this is setup we’ll officially be able to go into the google playstore and download STBemu.
8. Go back to the main dashboard of the bluestack program. The way to exit out is like a web-browser, each application creates tabs at the top (this took an embarrassing amount of time for me to realize on my own…I hope to save you from this agony).
9. We may now enter into the Google Playstore.
10. Type ‘STB emulator’ in the search bar.
11. You’ll likely see the STBemu (Free) version first but if you scroll a bit further down the screen you will find STBemu (Pro).
The main difference between the two is the free version has banner ads whereas the Pro version does not. There’s no performance difference between the two.
PRO TIP: if you don’t want to spend the ~5USD to ~7CAD for this app you can go to the chrome browser and find the APK file online. I recommend just getting the app as it supports the developer, you don’t risk download any viruses and gives you access to any future updates. Would only recommend going down the route if you’re more technically inclined.
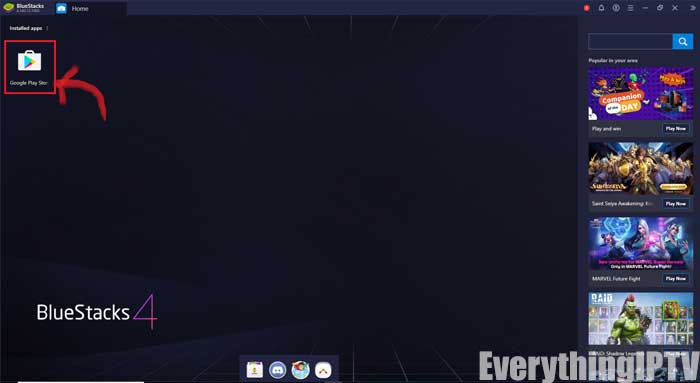
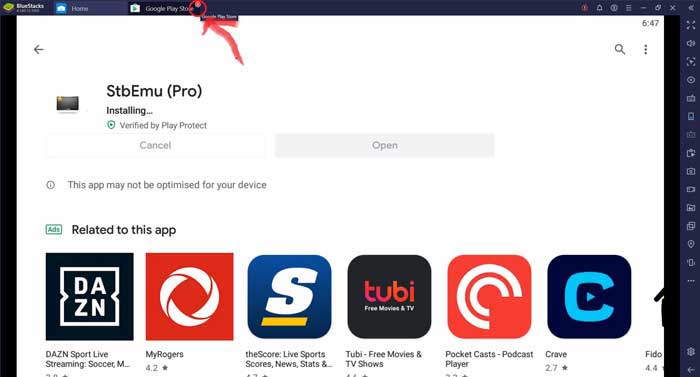
12. After you’re done installing you can open the app from within the playstore. But we’ll show you how you can also access the app from the dashboard. Close the playstore tab.
13. You can see we have successfully installed STBemu on Windows, now we’ll just need to configure the app.
14. When you first open the app you’ll see the configure screen. From here the process is the same as setting up STB emulator on Android which we have already covered in detail.
Conclusion
Once you configure the STB emulator app with the correct MAC and Portal URL you’ll be able to stream IPTV directly from your Windows computer or Apple Macbook.
We’ve seen some popular and reliable servers that work well on android but do not crossover well to PC with the bluestacks program. It seems like a hit or miss for some users. This could be caused by the fact we’re using an the STB emulator on an Android emulator causing some type of emulator inception. The bluestack program is a little resource intensive which can cause some buffering & audio-sync issues.
If this happens to you, for Windows you may be better off using M3U activation with Kodi, GSE Player or IPTV Smarters. We’ve reviewed GSE and IPTV smarters on Windows through bluestacks and it seems to be a good alternative to STBemu.

